
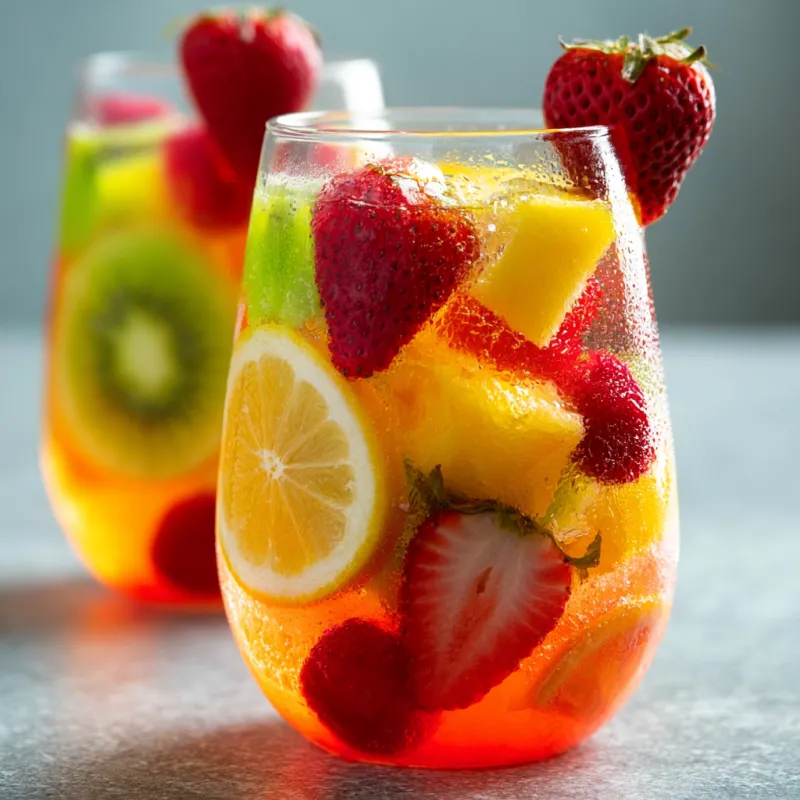
There’s something almost magical about a drink that shows off every color of the rainbow, especially when you didn’t use a single drop of artificial dye. The first time I saw a layered punch at a party, I thought it was some kind of bartender trick. Turns out, it’s just science—specifically, the science of liquid density. And it’s incredibly easy to pull off at home.

What Makes Rainbow Fruit Punch Work?
The secret is in the sugar content. Each juice has a different density, which is determined by how much sugar and solids it contains. Cranberry juice (100% juice, not cocktail) is the densest, so it sinks to the bottom. Lemon-lime soda is the lightest, so it floats on top. Everything else falls somewhere in between. By pouring each liquid slowly over the back of a spoon, you keep them from mixing—at least for a while.
This is not a drink you can make hours ahead and expect perfect layers. The layers will start to blur after about 30 minutes, especially if the ice melts and dilutes them. But that’s part of the charm: the punch slowly transforms from a striped rainbow into a swirling galaxy of color. Serve it right after assembling for the most dramatic effect.
Choosing Your Juices for the Best Color
For a true rainbow effect, you want five distinct colors: red, orange, yellow, blue, and clear. Here’s the lineup I use, based on both color and density:
- Red layer: 100% cranberry juice (not cocktail, which has added sugar and is less dense)
- Orange layer: Orange juice, no pulp (pulp will float and cloud the layers)
- Yellow layer: Pineapple juice (it’s naturally golden and has a similar density to orange juice)
- Blue layer: Blue sports drink or 100% blueberry juice (sports drinks are lighter and work well)
- Clear top layer: Lemon-lime soda (the lightest of all)
If you want a sixth layer, add white grape juice between the pineapple and blue layers. It has a slightly lower density than pineapple, so it will sit above it. Just test a small amount first to confirm the order.
The Technique: How to Layer Without a Mess
Here’s the step-by-step method that works every time:
- Fill a clear pitcher or punch bowl with ice. Clear ice (made from boiled water) looks best, but regular ice is fine.
- Pour the heaviest juice (cranberry) directly into the pitcher. It will settle at the bottom.
- For each subsequent layer, hold a spoon upside down (bowl facing up) just above the previous layer. Slowly pour the next juice over the back of the spoon. This disperses the liquid gently, preventing it from plunging into the layer below.
- Pour the lightest liquid (soda) last. It will float on top.
- Garnish with fresh fruit and serve immediately.
The most common mistake is pouring too fast. If you dump the juice in, it will mix with the layer below, and you’ll get a muddy color instead of a clean stripe. Patience is everything here. Each pour should take about 15-20 seconds for a standard pitcher.
What About the Ice?
Ice is both a friend and an enemy to layered drinks. It keeps everything cold, which helps maintain density differences (cold liquids are slightly denser than warm ones). But as it melts, it dilutes the layers and causes them to blend. To slow this down, use large ice cubes or a single large block of ice. They melt slower than small cubes. If you’re making this for a party, freeze a ring of ice with fruit inside—it looks beautiful and keeps the punch cold without watering it down too quickly.
Can You Make It Ahead?
Not really, not with the layers intact. But you can prep everything: chill all the juices and soda, cut the fruit, and have the pitcher ready. Then, layer just before guests arrive. It takes about 5 minutes to assemble. If you want to make a big batch without the layers, simply stir all the juices together and add soda right before serving. It will taste the same—just without the visual wow factor.
Variations and Substitutions
This recipe is flexible. For a tropical twist, swap the cranberry juice for pomegranate juice (also dense) and the pineapple for mango nectar. For a lower-sugar version, use diet lemon-lime soda and unsweetened juices. If you’re avoiding artificial colors, skip the sports drink and use blueberry juice or a natural blue spirulina solution. Just remember: any substitution changes the density, so test the order first by pouring a small amount of each liquid into a glass to see which sinks and which floats.
Common Allergens and Safety Notes
This recipe is free of the top allergens (dairy, eggs, nuts, gluten). However, some commercial juices may contain added ingredients; always check labels if you have sensitivities. For a party, keep the punch chilled and do not leave it at room temperature for more than 2 hours. If you’re using a punch bowl with a ladle, remind guests to use it rather than dipping cups directly. And as always, for specific dietary concerns, consult a qualified professional.
Final Takeaway
Rainbow Fruit Punch is one of those drinks that looks like it took hours of work but actually comes together in minutes—if you know the density trick. It’s perfect for birthdays, holidays, or any celebration where you want a drink that doubles as a centerpiece. The layers won’t last forever, but that’s exactly what makes them special: they’re a fleeting, beautiful moment you get to enjoy right when you serve it.
Frequently Asked Questions
Why do the layers in my Rainbow Fruit Punch mix together?
The most common reason is pouring too quickly or using warm ingredients. Make sure all juices and soda are thoroughly chilled before layering. Pour each liquid slowly over the back of a spoon held just above the previous layer. Also, check the density order: the heaviest (cranberry) goes first, then progressively lighter liquids. If you substitute juices, test their density first by pouring a small amount into a glass of water; if it sinks, it’s denser.
Can I make Rainbow Fruit Punch without sports drinks?
Absolutely. Use 100% blueberry juice for the blue layer, or try a mix of blue spirulina powder dissolved in water for a natural blue. You can also skip the blue layer entirely and use white grape juice or coconut water for a clear layer. The key is maintaining the density order: test each juice’s density by pouring a small amount into a glass of plain water to see if it sinks or floats.
How do I get clear ice for this punch?
Clear ice is made by boiling water twice to remove air bubbles, then freezing it in a silicone ice cube tray or a small container. The slow freezing process pushes impurities to the center, which you can chip away. For a punch, large clear ice blocks look stunning and melt slower. If you don’t have time, regular ice works fine—just expect some cloudiness.
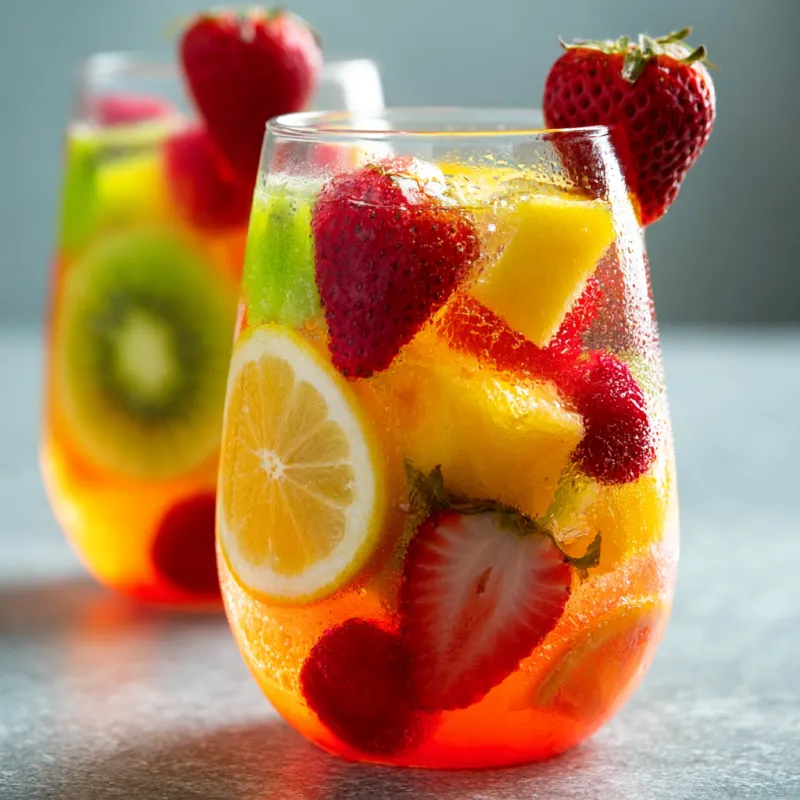
Rainbow Fruit Punch
Ingredients
Equipment
Method
- Fill a large clear pitcher or punch bowl about halfway with ice cubes. Clear ice (made from boiled water) gives the best visual effect, but regular ice is fine.
- Pour the cranberry juice slowly down the side of the pitcher. This forms the bottom layer because it has the highest density (sugar and solids). It will settle at the bottom.
- Next, carefully pour the orange juice over the back of a spoon held just above the cranberry layer. This slows the pour and keeps the layers separate. Orange juice is less dense than cranberry, so it floats.
- Slowly pour the pineapple juice over the back of a spoon, just above the orange layer. Pineapple juice has a similar density to orange juice, so it may mix slightly; that's okay. The key is a slow, gentle pour.
- For the blue layer: pour the blue sports drink or blueberry juice over the back of a spoon. If using blueberry juice, note it may be slightly thicker. Sports drinks are lighter and will stay on top of the pineapple layer.
- Finally, pour the lemon-lime soda over the back of a spoon. This is the lightest layer and will float on top. If using white grape juice, pour it between the pineapple and blue layers, or use it as a top layer instead of soda.
- Garnish with fresh fruit: a few strawberry slices, orange wheels, pineapple chunks, and blueberries. Serve immediately with a ladle or long spoon for stirring.
- To maintain the layers, do not stir until serving. Each person can stir their own glass, or you can stir the whole punch just before serving, which will turn it a uniform reddish-purple color.